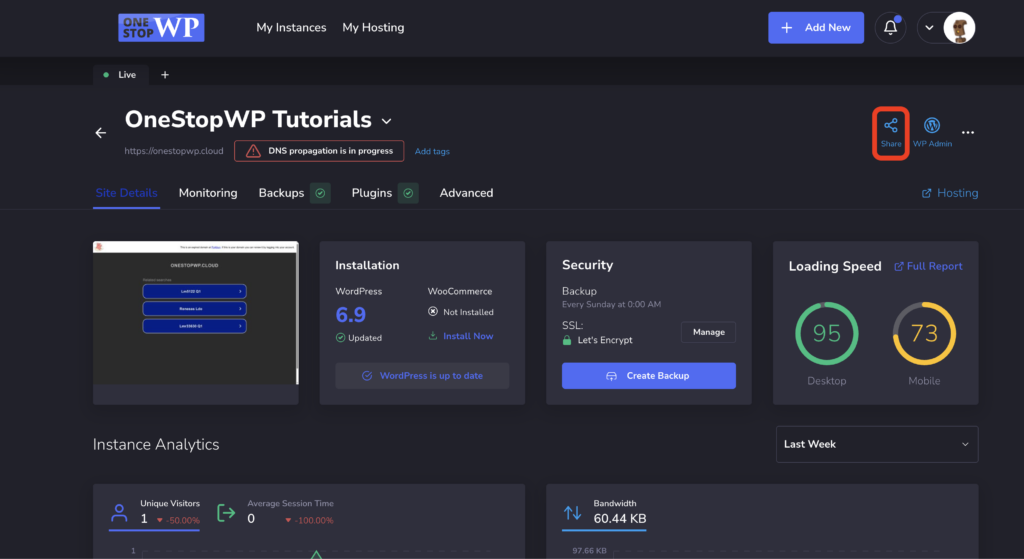
In this tutorial, we will review how and what type of access we can provide to third parties. As with most of the features in our Control Panel, everything is within a click's distance. Once you log in to your control panel, click Manage Site on the instance you want to provide access for. Now here we see a Share button with the typical icon:
Clicking on that button, we are presented with a new window that shows us several options:
Choose User – here we have to set the email address of the user we want to share access with
Role – here we can choose between a few options:
– View Info – Providing access only to the website details without any control or WP Admin access.
– View and SSO – Allowing to display website details and use the "WP Admin" option to log in to WordPress as an administrator.
– Developer – Providing access to all management options for your website without access to the hosting instance management.
– Full access – Providing access to all management options for your website, as well as the related hosting instance. Please note that if this hosting instance comes with other sites too, they will have access to them as well.
– Custom – Customize access on features level.

Once you set the user email and choose their role, the only thing that is left is to press the Invite User button. This will send an email with the access option to the set user.