
Migrating Your WordPress Site: A Step-by-Step Guide to a Zero-Downtime Switch
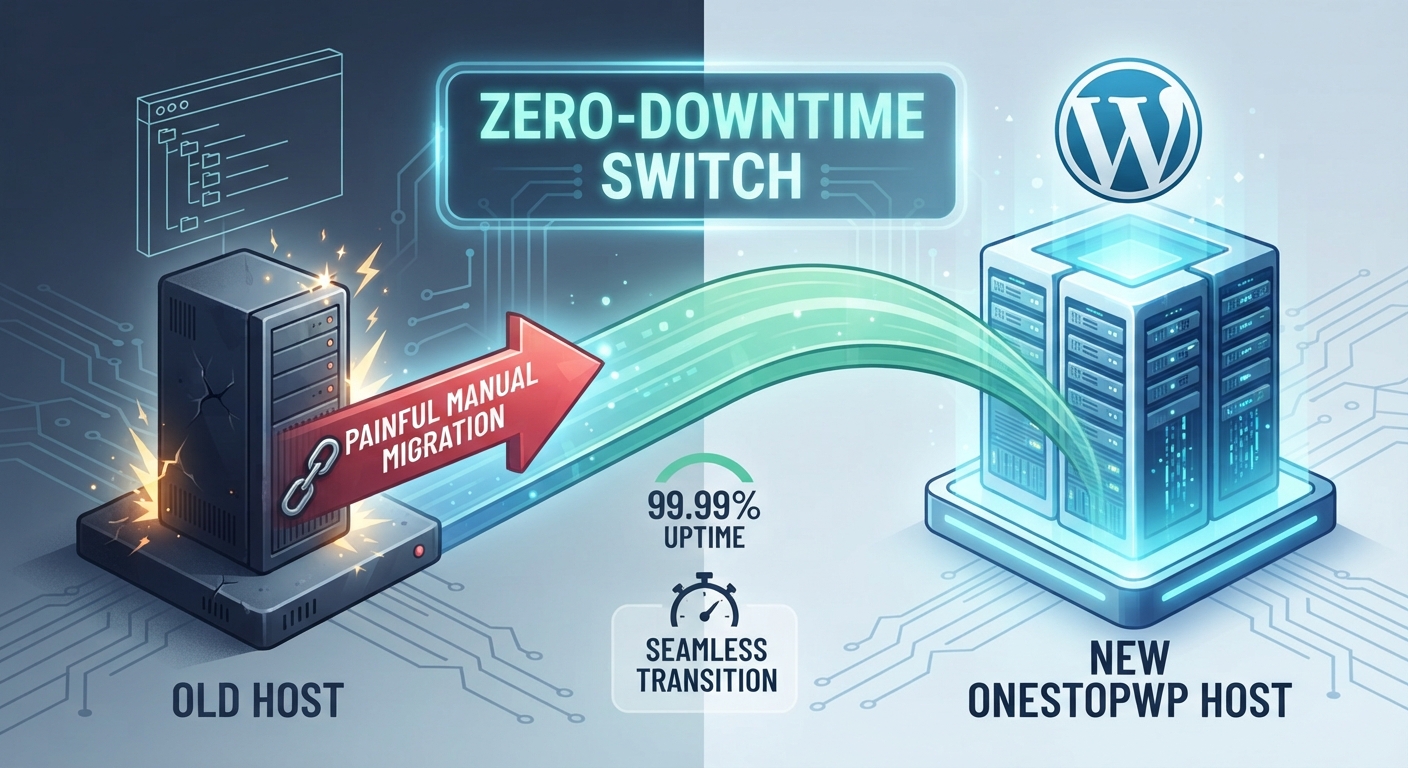
Let’s be honest: the mere thought of migrating a website to a new host is enough to give any business owner anxiety.
Images breaking, databases failing to sync, emails bouncing, and worst of all-hours of unexpected downtime where your customers see a broken error page instead of your storefront. For many, the fear of migration acts as an invisible anchor, keeping them trapped on a sluggish or overpriced hosting provider year after year.
It doesn’t have to be this way. Moving hosts shouldn't feel like open-heart surgery. Here is a look at how a proper migration works and how you can achieve a seamless, zero-downtime switch.
1. The Pre-Migration Audit: Clean House First
Before you move a single file, treat your migration like a physical move to a new house. You wouldn't pack up broken furniture and junk you don't need; you’d declutter first.
- Audit Plugins and Themes: Review your active plugins. Delete anything abandoned, bloated, or unused.
- Database Cleanup: Clear out old post revisions, spam comments, and transient options. A leaner database means a faster, smoother transfer.
- Full Backup: Always take a fresh, independent backup of your files and database before touching anything.
2. Setting Up the New Environment
The secret to zero downtime is staging before switching. Instead of dismantling your live site on host A, you replicate the environment on host B first.
- Pre-configure PHP & SSL: Ensure your new managed hosting environment is running a modern PHP version (like PHP 8.3+) and has an active SSL certificate ready to go.
- File & Database Import: Safely transfer your WordPress core files,
wp-contentdirectory, and SQL database to the new server.
3. The Staging Check: Testing Behind the Scenes
This is where amateur migrations fail. Never point your live domain to a new server without testing first.
- The Hosts File Trick: By modifying your local computer's
hostsfile, you can preview your live site running directly on the new server infrastructure while the rest of the world still sees the old host. - Verify Everything: Check your permalinks, test checkout flows or contact forms, and ensure your SSL certificate is communicating properly.
4. The Switch and DNS Propagation
Once everything looks pristine on the staging preview, it’s time to flip the switch.
- Update DNS Records: Point your domain’s A records (and nameservers, if applicable) to your new host.
- TTL Optimization: If you lowered your DNS Time-To-Live (TTL) hours before the migration, global routing will update in minutes rather than hours or even days.
- The Zero-Downtime Reality: Because your old site remains active while DNS propagates, visitors experience zero interruption. They simply land on the old server until the network catches up, and new visitors seamlessly hit the new, optimized environment.
Let Us Handle the Heavy Lifting
While understanding the migration process gives you peace of mind, you shouldn't actually have to do it yourself.
At OneStopWP, we believe moving to high-performance, managed hosting should be entirely friction-free. When you sign up, our engineering team handles the entire migration from end to end-safely transferring your files, testing your database, and ensuring a zero-downtime transition without you ever having to touch a line of code or look at a hosts file.
👉 Ready to upgrade your hosting without the headache? Request free migration and let us do it for free, today.